How to Use the Platform
The student's flow end to end — sign-in, activation, launching a lab, working on the stand, checking and ending
This guide walks the whole path: sign in, account activation, launching a lab, working on the stand, checking your work and ending the session. Buttons are named here exactly as they are labelled in the interface.
Two words you will meet throughout: a lab is the task with its own checks; the stand is the GNS3 environment the platform brings up for you alone for the length of a session.
1. Sign in
Open /sign-in and enter your email and password. No account yet — /sign-up: name, email and a password of at least 8 characters. Below the form there is a "Sign in with GitHub" button; if you signed up through GitHub, use that button — such an account has no password.
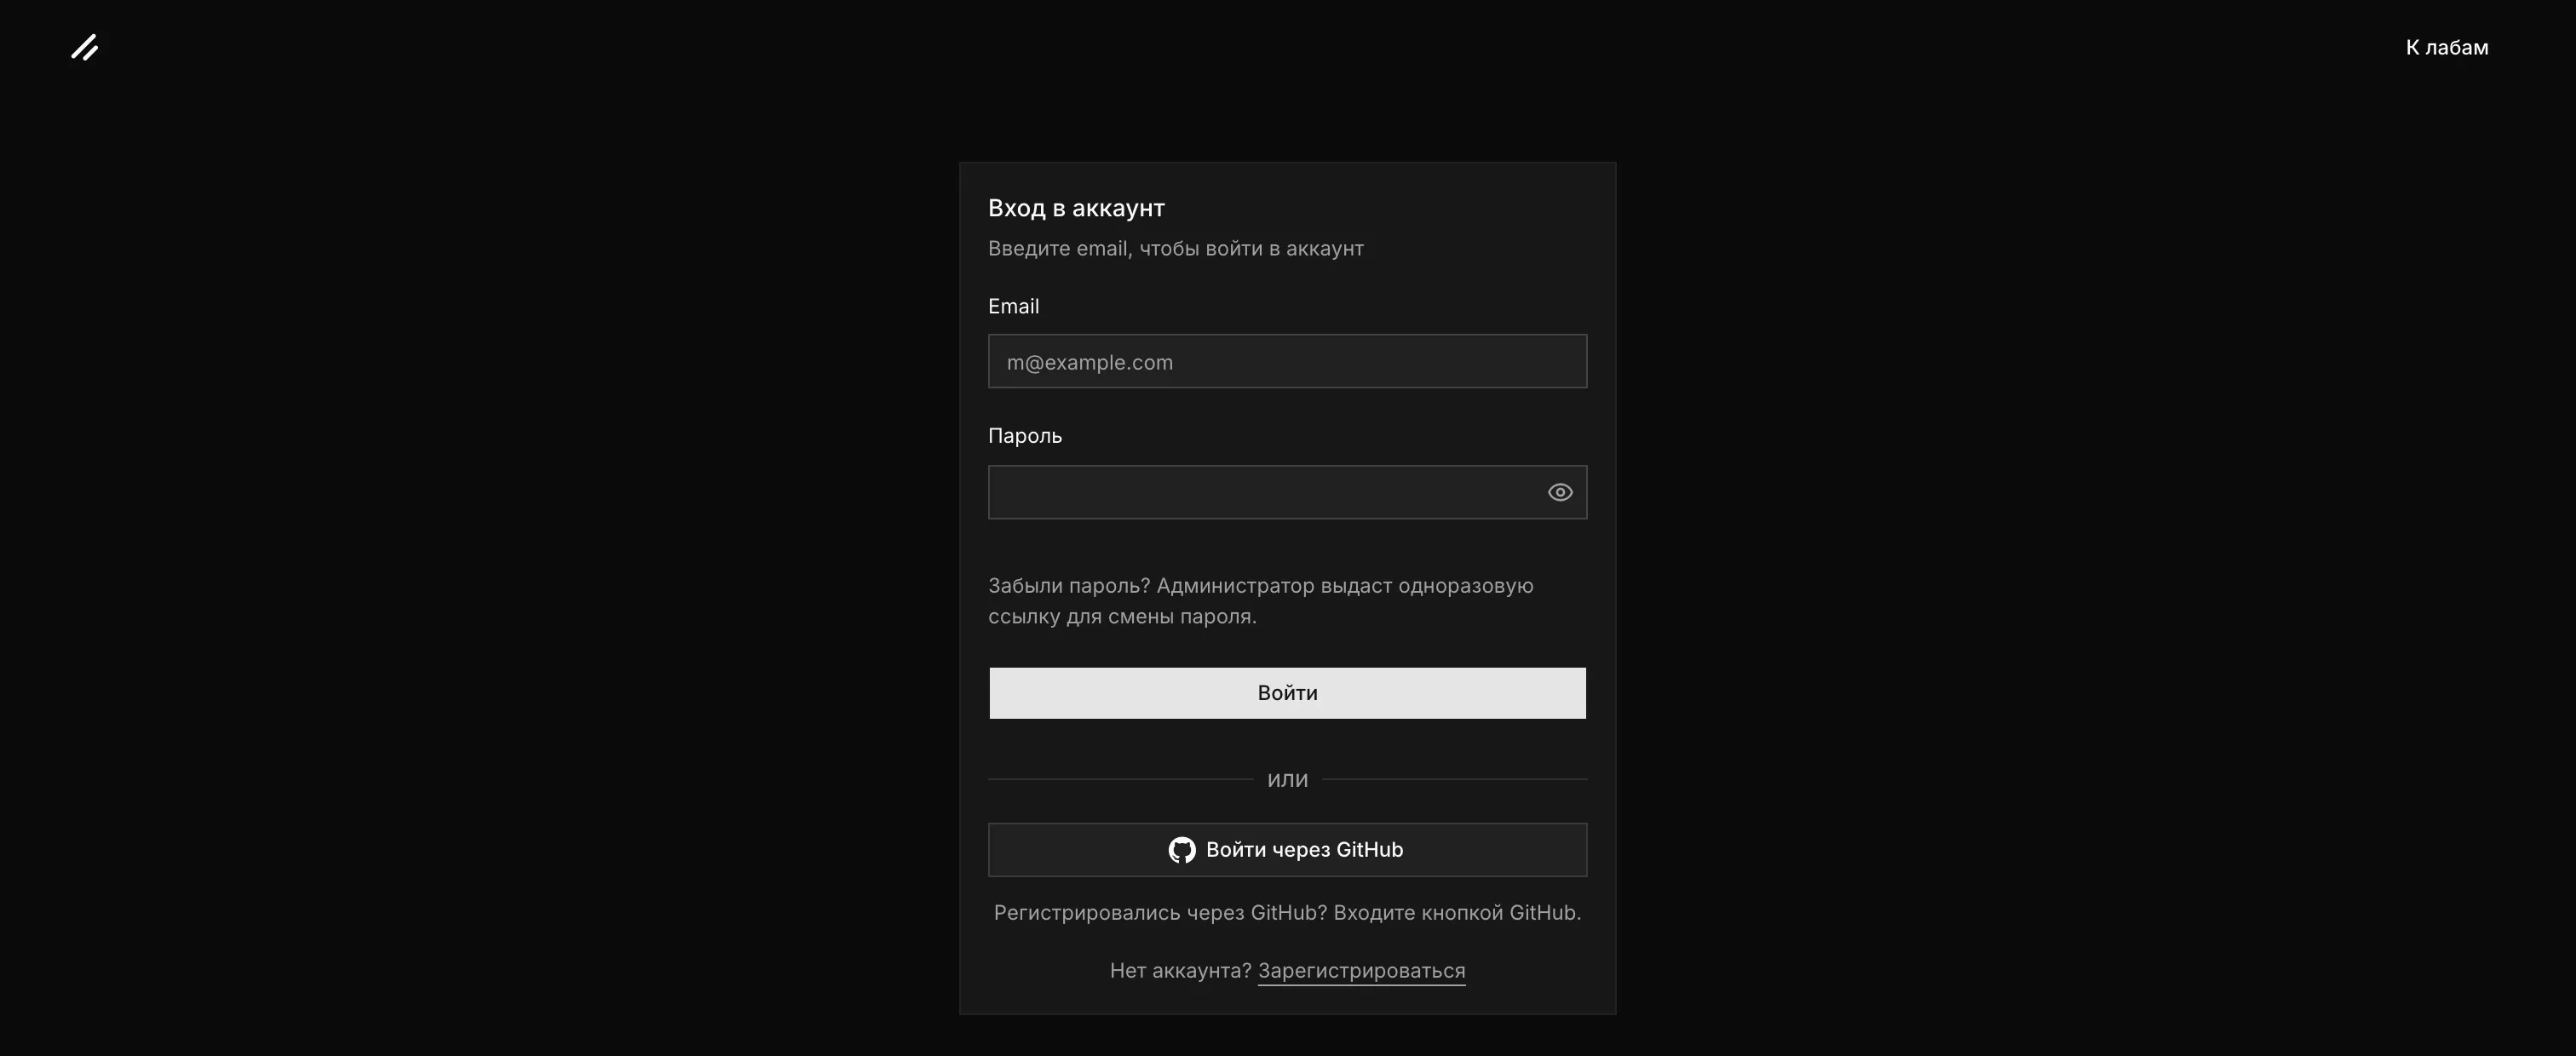
The platform sends no email. Forgot your password? Ask the administrator: they issue a one-time link to set a new one.
After signing in you land on My Labs, with your active and recent sessions.
2. Account activation
A new account starts out inactive: an instructor or admin confirms access. Until then My Labs shows "Account awaiting approval", and on the launch page the "Launch" button is disabled with the same notice beside it. Once you are told access is open, reload the page — you can launch straight away.
3. Choosing a lab
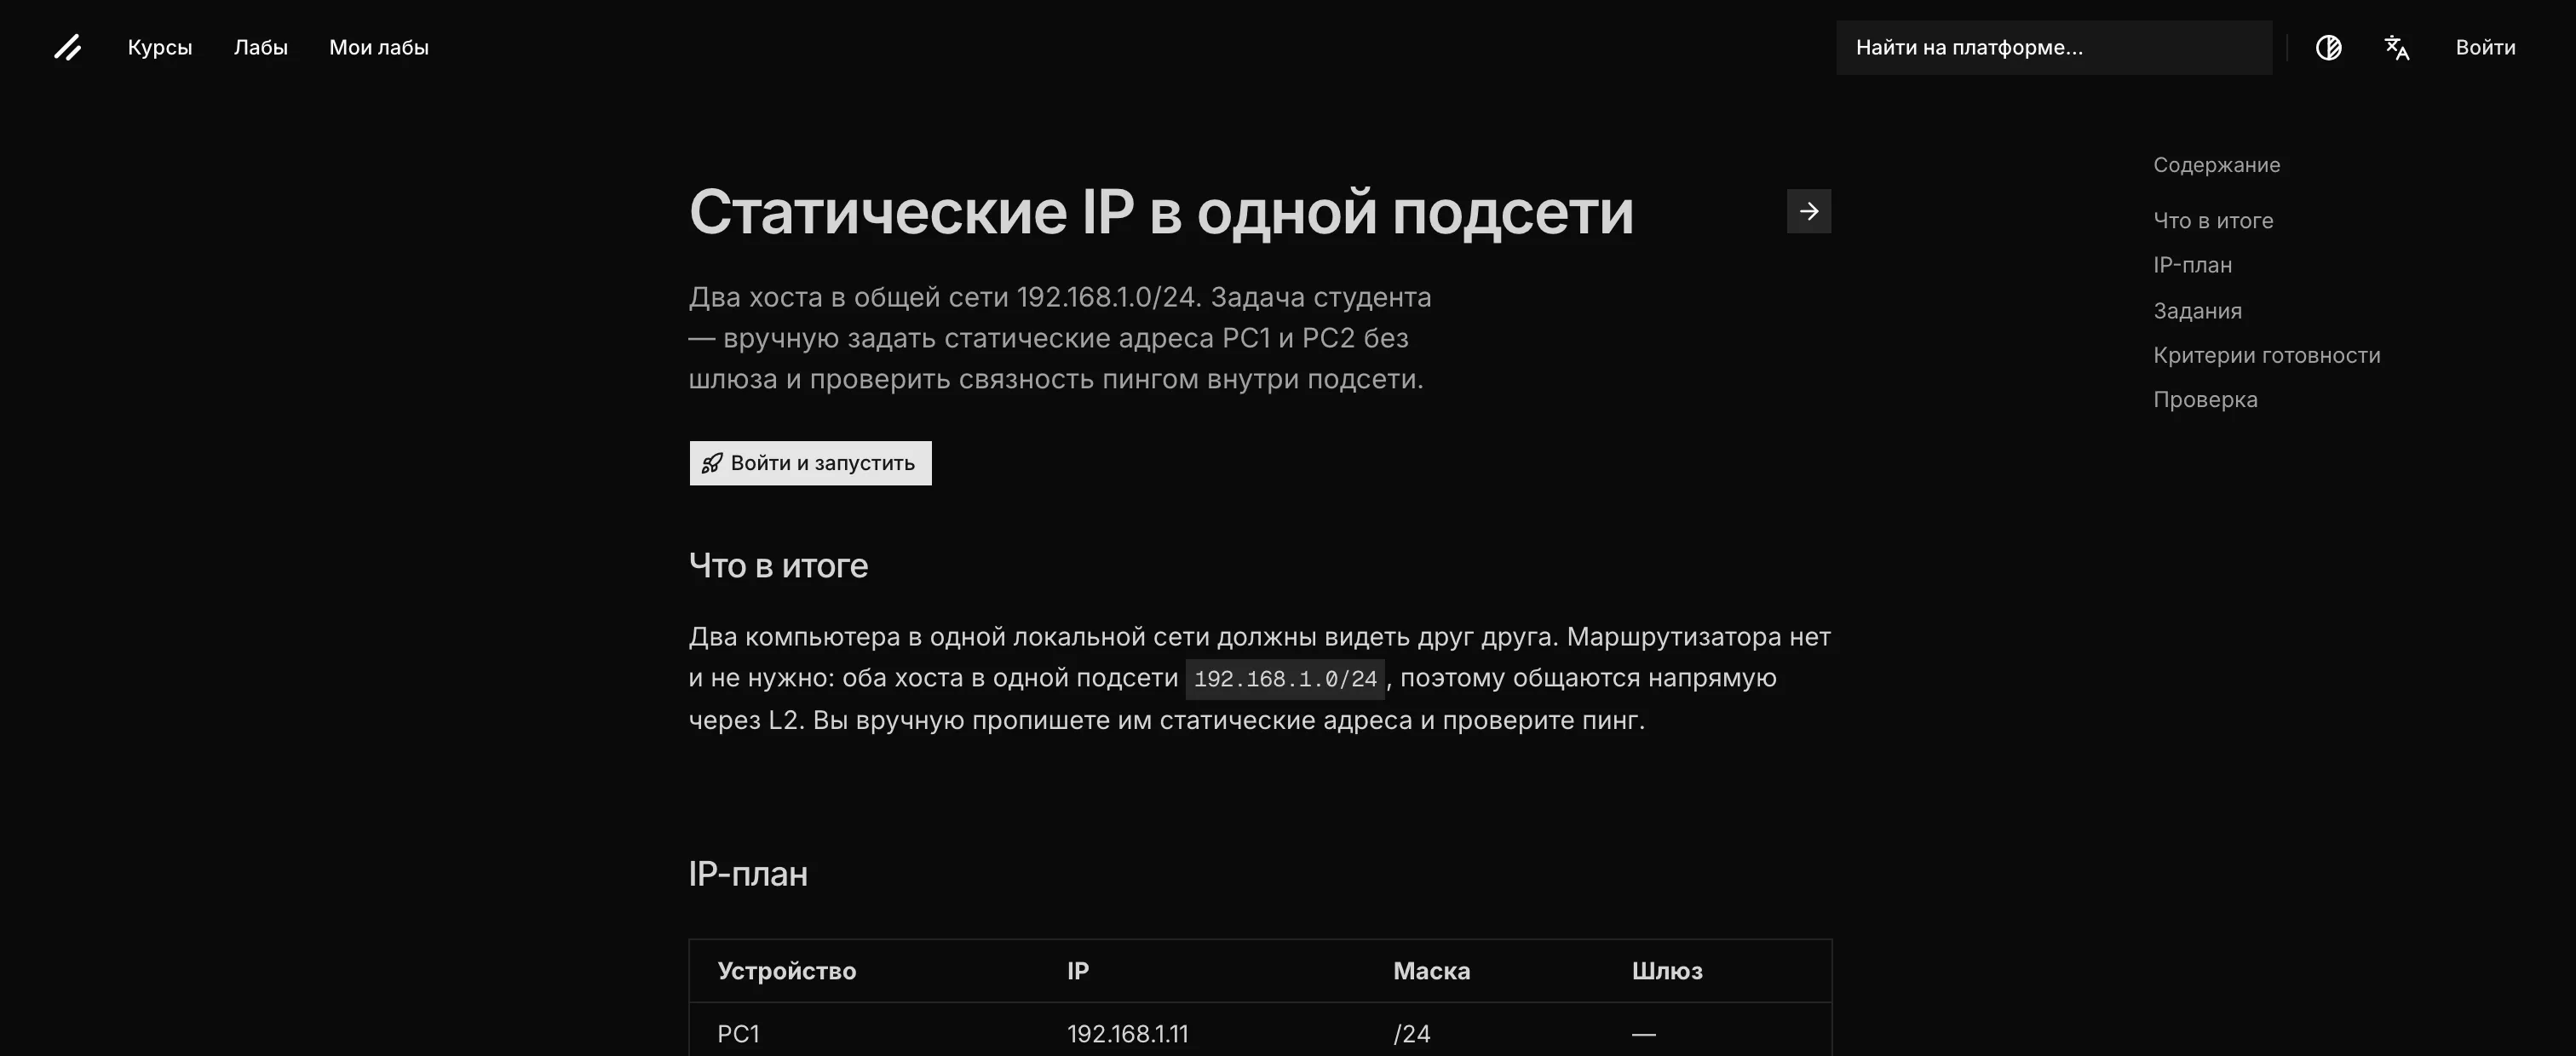
The "Labs" section in the header lists the available labs, for example /labs/lan-static-ip. The lab page is the task itself: what to configure, the IP plan, the readiness criteria and how it is checked. The "Launch" button sits right under the description; if you are not signed in it reads "Sign in and launch" — it takes you to the sign-in form first and back to the launch afterwards.
4. Research participation
The platform asks about taking part in the research once, and not up front: the question comes right after you confirm "Launch lab?" (the next section) — the same dialog turns into a choice between "Take part" and "Not this time", and your answer carries the launch on. An answer is required, agreement is not: a refusal closes nothing, and the labs work the same either way. You can change the decision in settings at any time, and ask for an export or deletion of your data. What is collected and why is in data processing.
5. Launching
The button on the lab page does not go straight to a stand: it opens a separate "Launch lab" page with the lab title and a second "Launch" button. If a stand for this lab is already running for you, that button is replaced by "Your stand is already running" and "Back to your stand".
"Launch" asks "Launch lab?" — confirm with "Launch". The platform brings up a dedicated GNS3 stand for you; it takes up to a couple of minutes and the page refreshes itself.
Instead of a stand the dialog may answer differently:
- "Session limit reached" — the number of sessions you may hold at once is limited. The dialog lists your current sessions: finish one and launch again.
- "Lab queued" — no stand is free. The dialog shows your position and launches the lab as soon as it is your turn; "Cancel" takes you out of the queue.
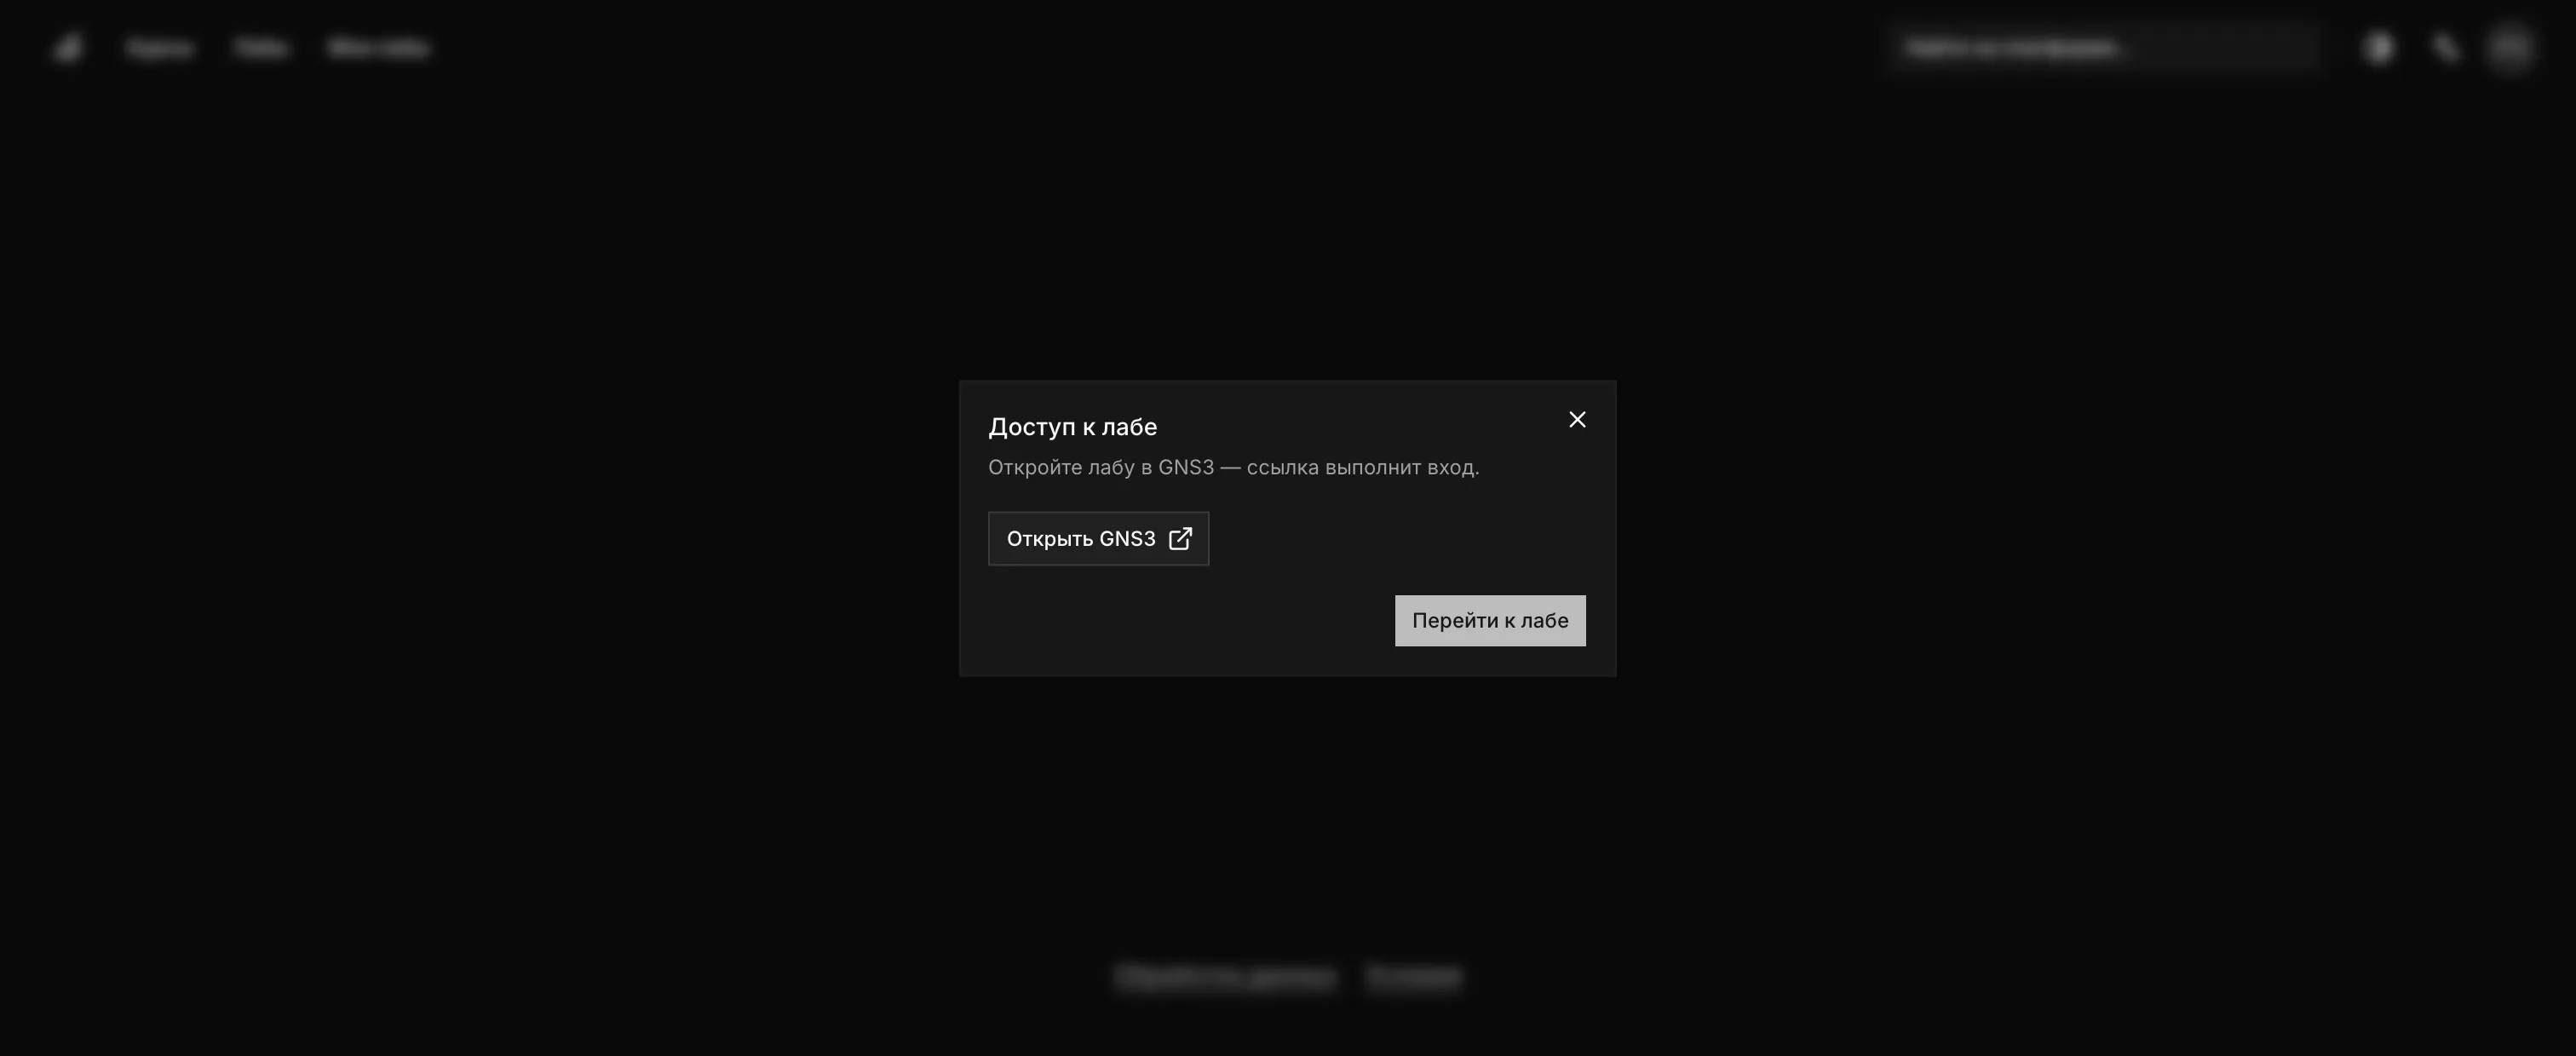
A ready stand opens the "Lab access" dialog:
- "Open GNS3" — GNS3 in a new tab. The link signs you in on its own: there is no stand password to type or keep. The link is single-use and short-lived — if GNS3 says the link has expired, go back to the session page and press "Open GNS3" again.
- "Go to lab" — the session page.
6. The session page
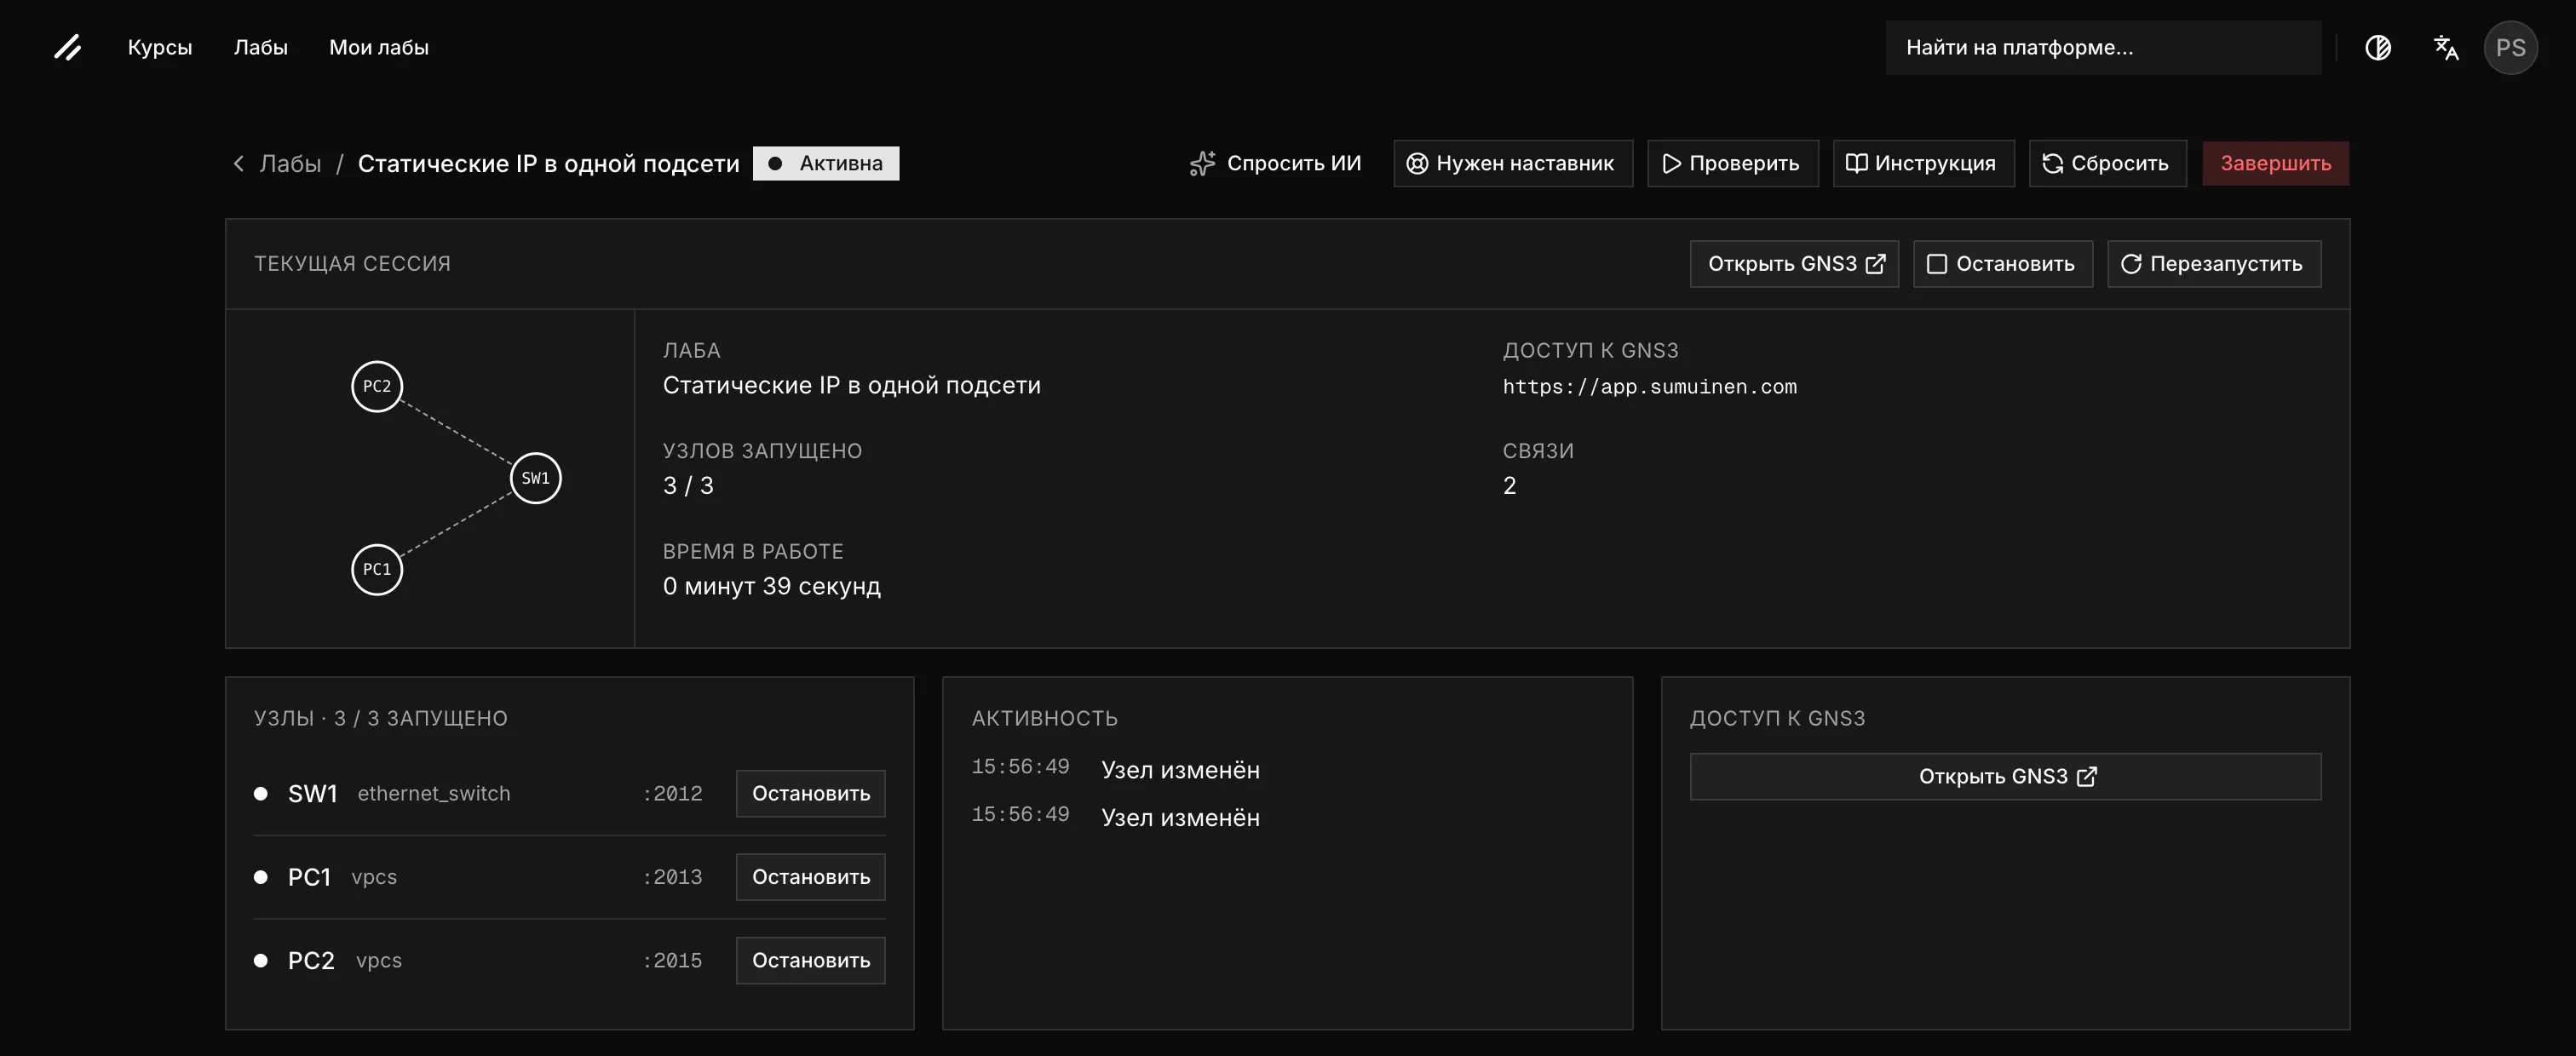
The session page opens from My Labs and holds every control:
- The heading with the lab title and the status: "Provisioning", "Active", "Ended".
- The "Current session" bar: "Open GNS3", "Stop", "Restart". A "Start all" button joins that bar only while some node is stopped; with every node running it is not shown.
- The "Nodes" card — the nodes of the stand and their state, each with its own "Start" or "Stop" button. Clicking a node slides out a node panel: "Open console in GNS3" (for nodes that have a console), "Start node" or "Stop node", "Reload node".
- The "Activity" card — what has been happening on the stand.
- The "GNS3 access" card — the same "Open GNS3" button.
- Top right — "Ask AI", "Need a mentor", "Check", "Instructions", "Reset", "End". On a narrow screen "Instructions", "Reset" and "End" move into the "⋮" menu, and a bar with "Open GNS3" and "Stop" stays at the bottom of the screen.
If nothing happens for a while the stand pauses itself: "Environment paused" appears with a "Resume" button. Your configuration is kept.
7. Node console
Each lab node (PC1, PC2, a router…) is a virtual machine with its own console, where you type the task commands. There are two ways to open it.
- Dashboard button. Pick a node in the "Nodes" card — nodes with a console (PC, router…) show an "Open console in GNS3" button. Start the node before opening it — otherwise the console won't connect.
- Node menu in GNS3. Open the GNS3 Web UI ("Open GNS3" on the session page) and right-click a running node, then choose "Web console" from the menu. Double-clicking the node does not open the console.
The console appears in a floating "GNS3 console" window on top of the topology; every node you open gets its own tab in it, so one window holds them all.
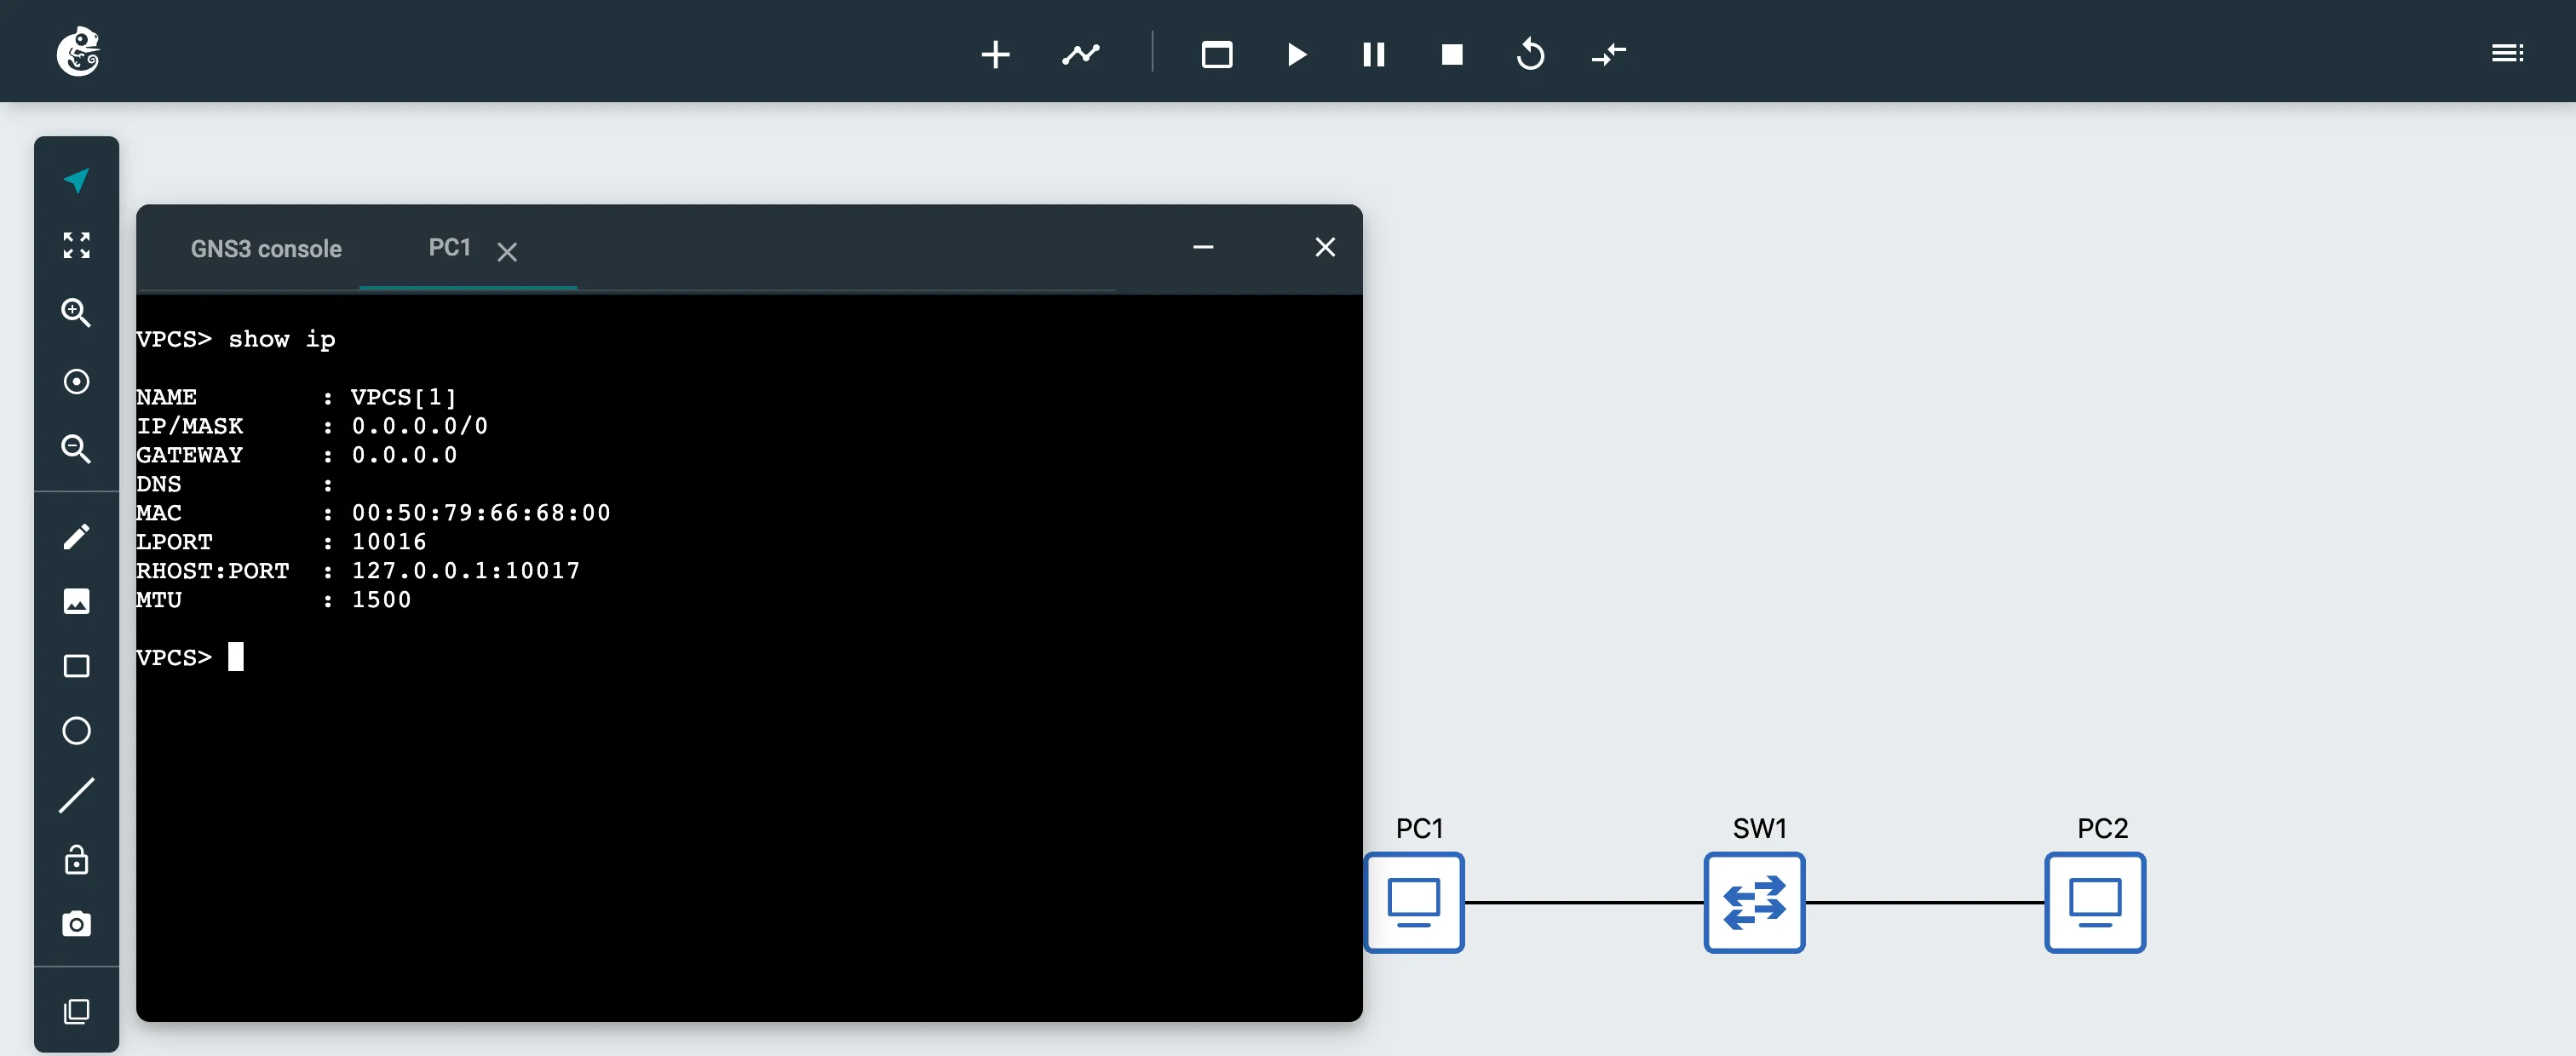
Switch your keyboard layout to English before typing commands — VPCS doesn't understand non-Latin input. This console is where you run the task commands: ip, show ip, ping, save.
Once a node is configured, run save in its console. The platform does try to save node configuration before a stop or a restart, but if the stand does not answer it will ask whether to go on without saving.
8. Chat with the AI tutor
The "Ask AI" button opens the chat panel on the right. The tutor knows the task and sees the state of the stand, so you can ask concrete questions: what is configured on a node right now, why a ping does not go through, which command fixes it. Ready-made questions ("Lab topology", "Where to start", "Node setup", "Hint") are one click away.
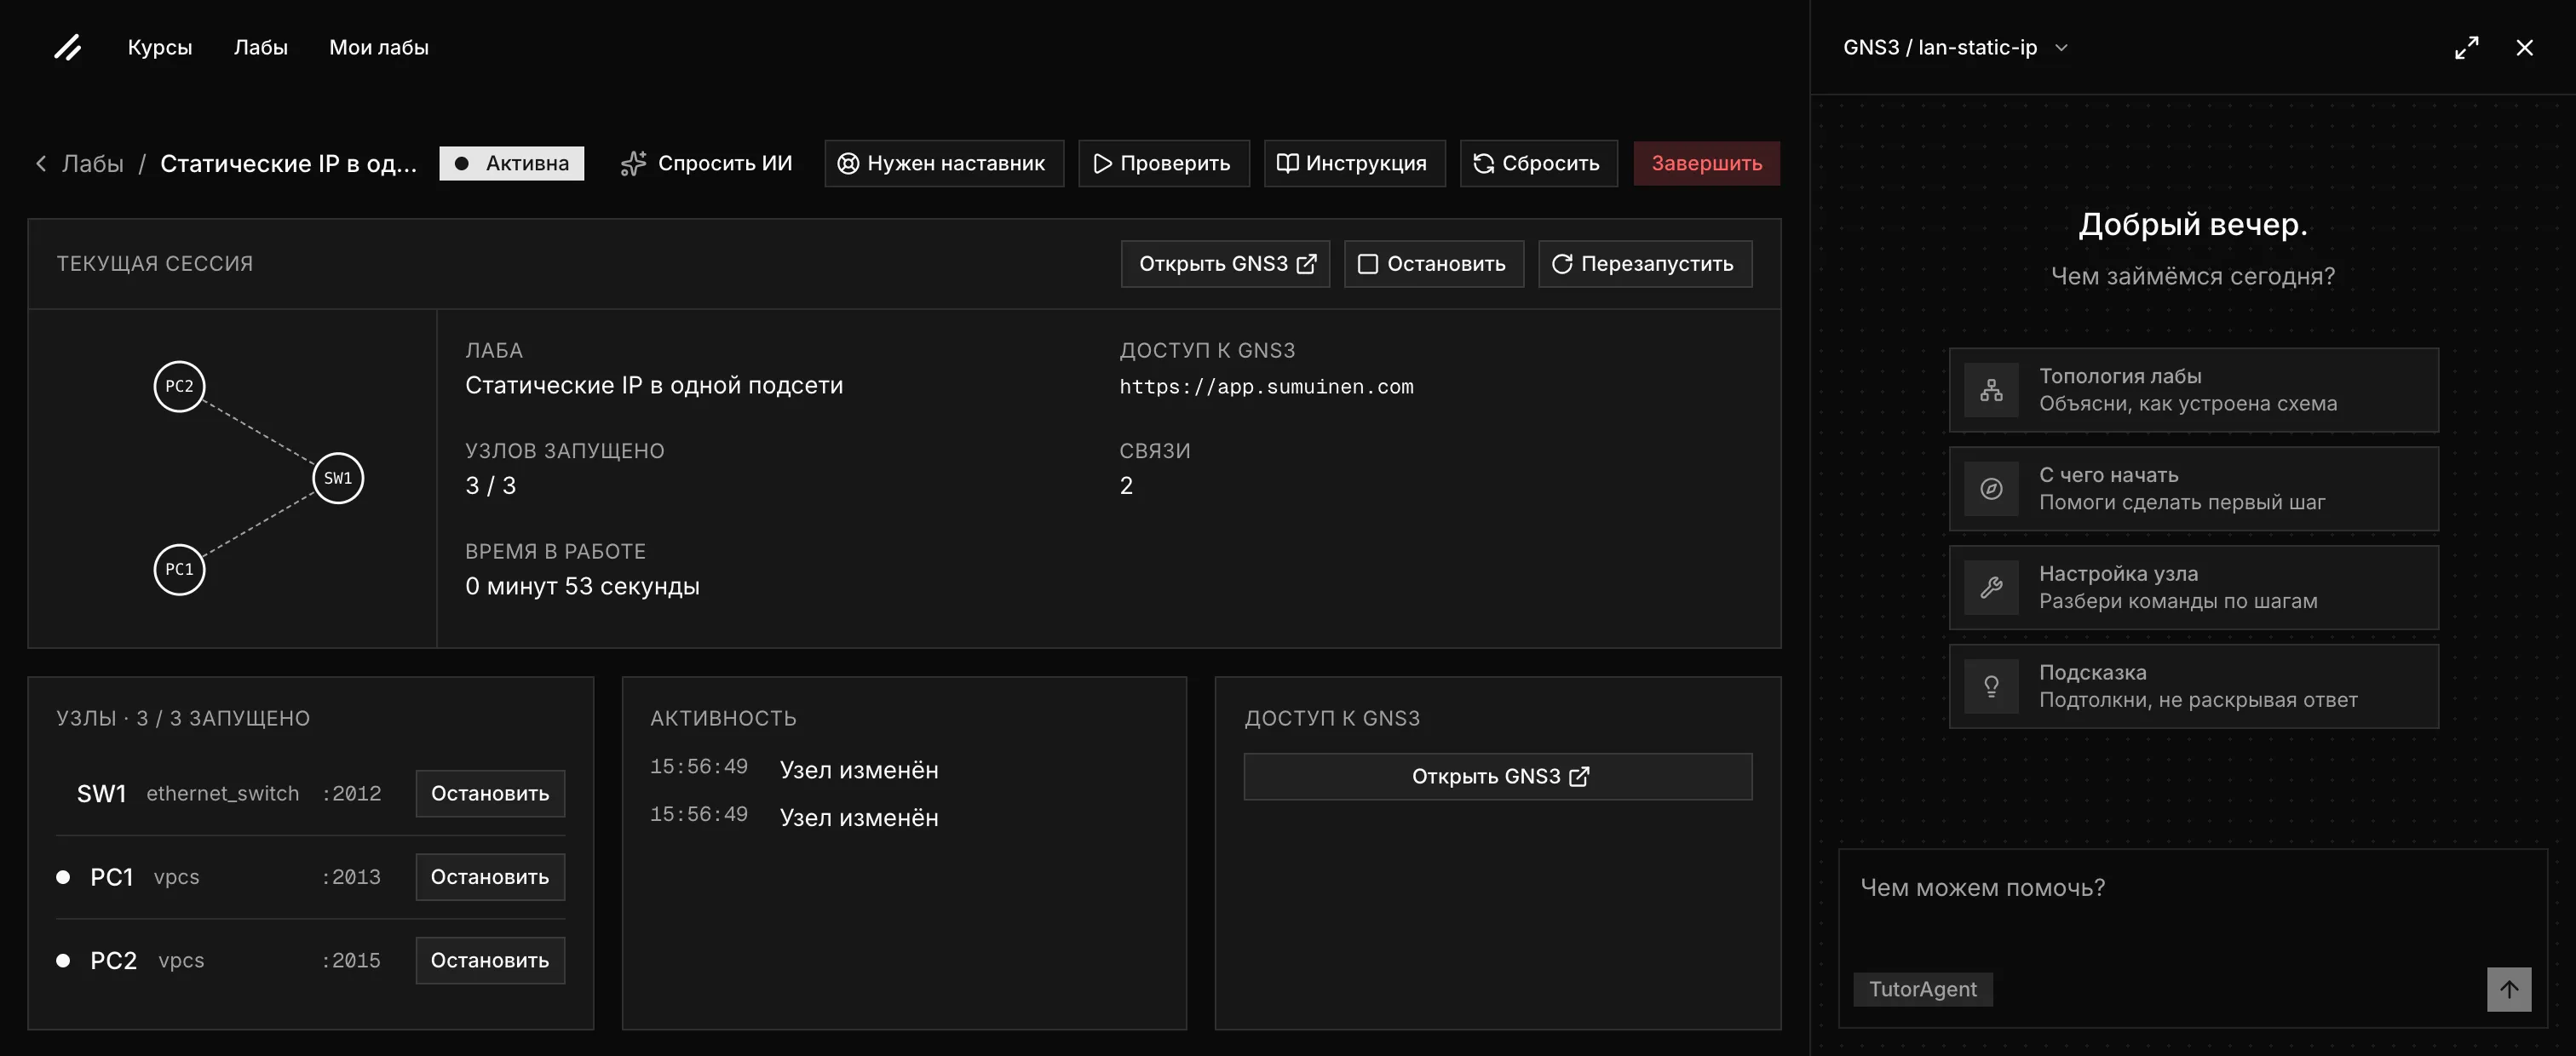
The answer arrives in pieces; while it is being written, a "Stop generating" button is available. The tutor explains and nudges, but never runs commands on the nodes for you. In some labs hints are deliberately withheld — the session heading then reads "No hints".
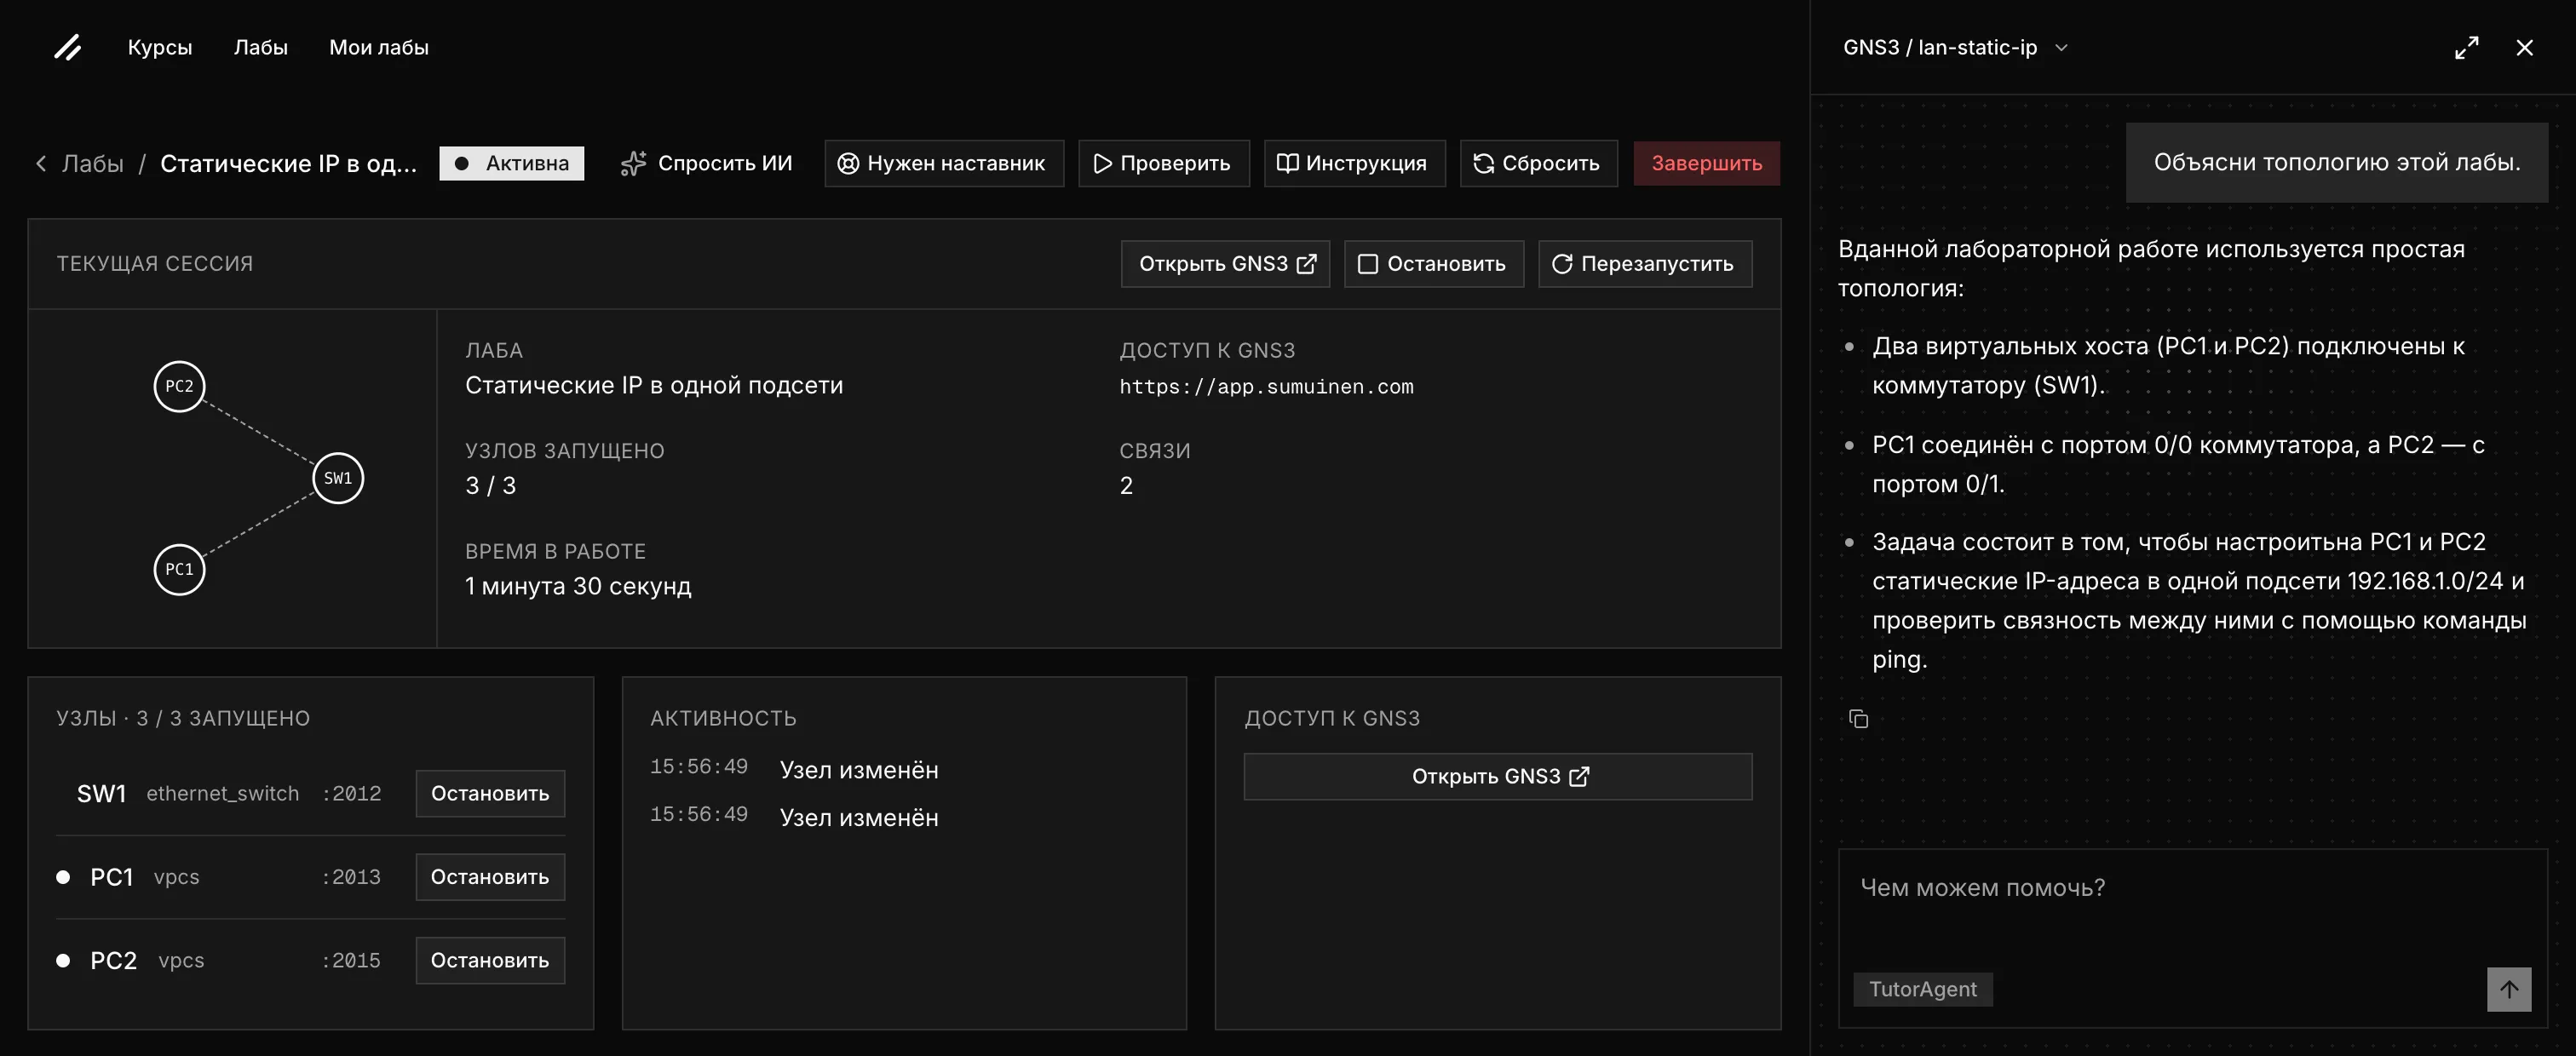
The "Need a mentor" button next to it sends a request to a human mentor when the tutor is not enough.
9. Checking your work
"Check" opens the "Lab check" panel and immediately starts a run against the live stand: the platform reads node addresses and runs the pings itself, so there is no command output to paste anywhere. If a verdict already exists, the panel shows that one instead of starting a new run. Every task step expands into its checks, each showing what was expected and what was found.
A run ends in one of three verdicts:
- "Lab complete" — with the note "End the session to free the stand" and an "End" button.
- "Step … did not pass" — the step does not match; look at the check rows for the expected and the actual value.
- "Could not check" — no verdict: a node is not started, a console is busy with a command, or the stand did not answer. The row says what to do before running again.
"Run again" repeats the run, "History" keeps the earlier ones.
10. Stop, restart, reset
- "Stop" — stops every node of the stand; the session stays active and node configuration is saved before the stop.
- "Restart" — stops and starts the nodes again; anything running on them right now is interrupted.
- "Reset" — rebuilds the stand from the template: node addresses and configuration are gone and the nodes start fresh. Open the GNS3 tab anew after a reset.
All three ask for confirmation, and warn separately when node configuration has not been saved.
11. Ending the session
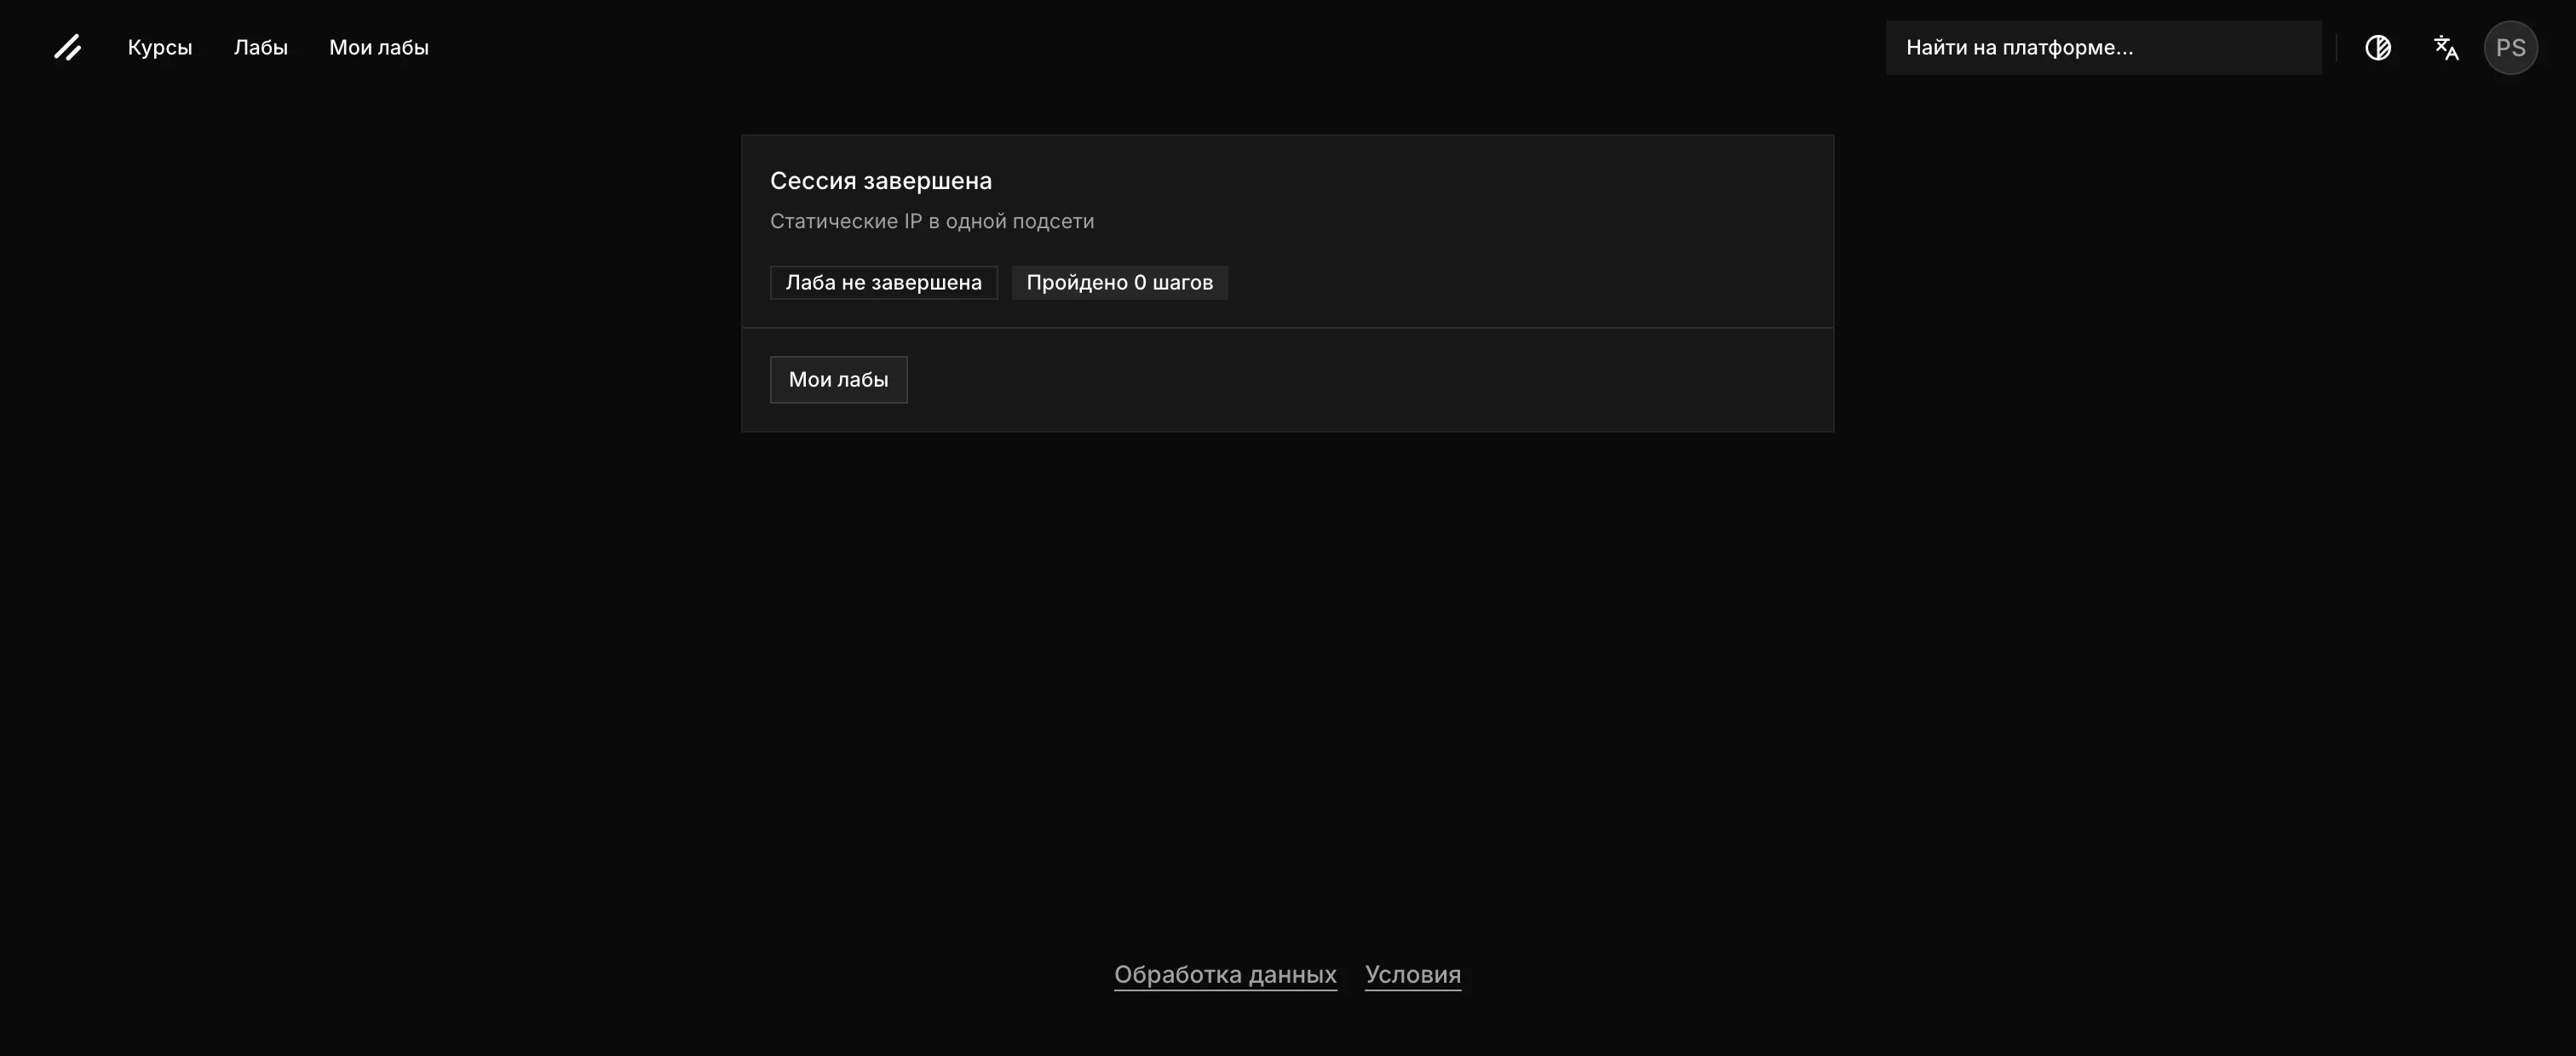
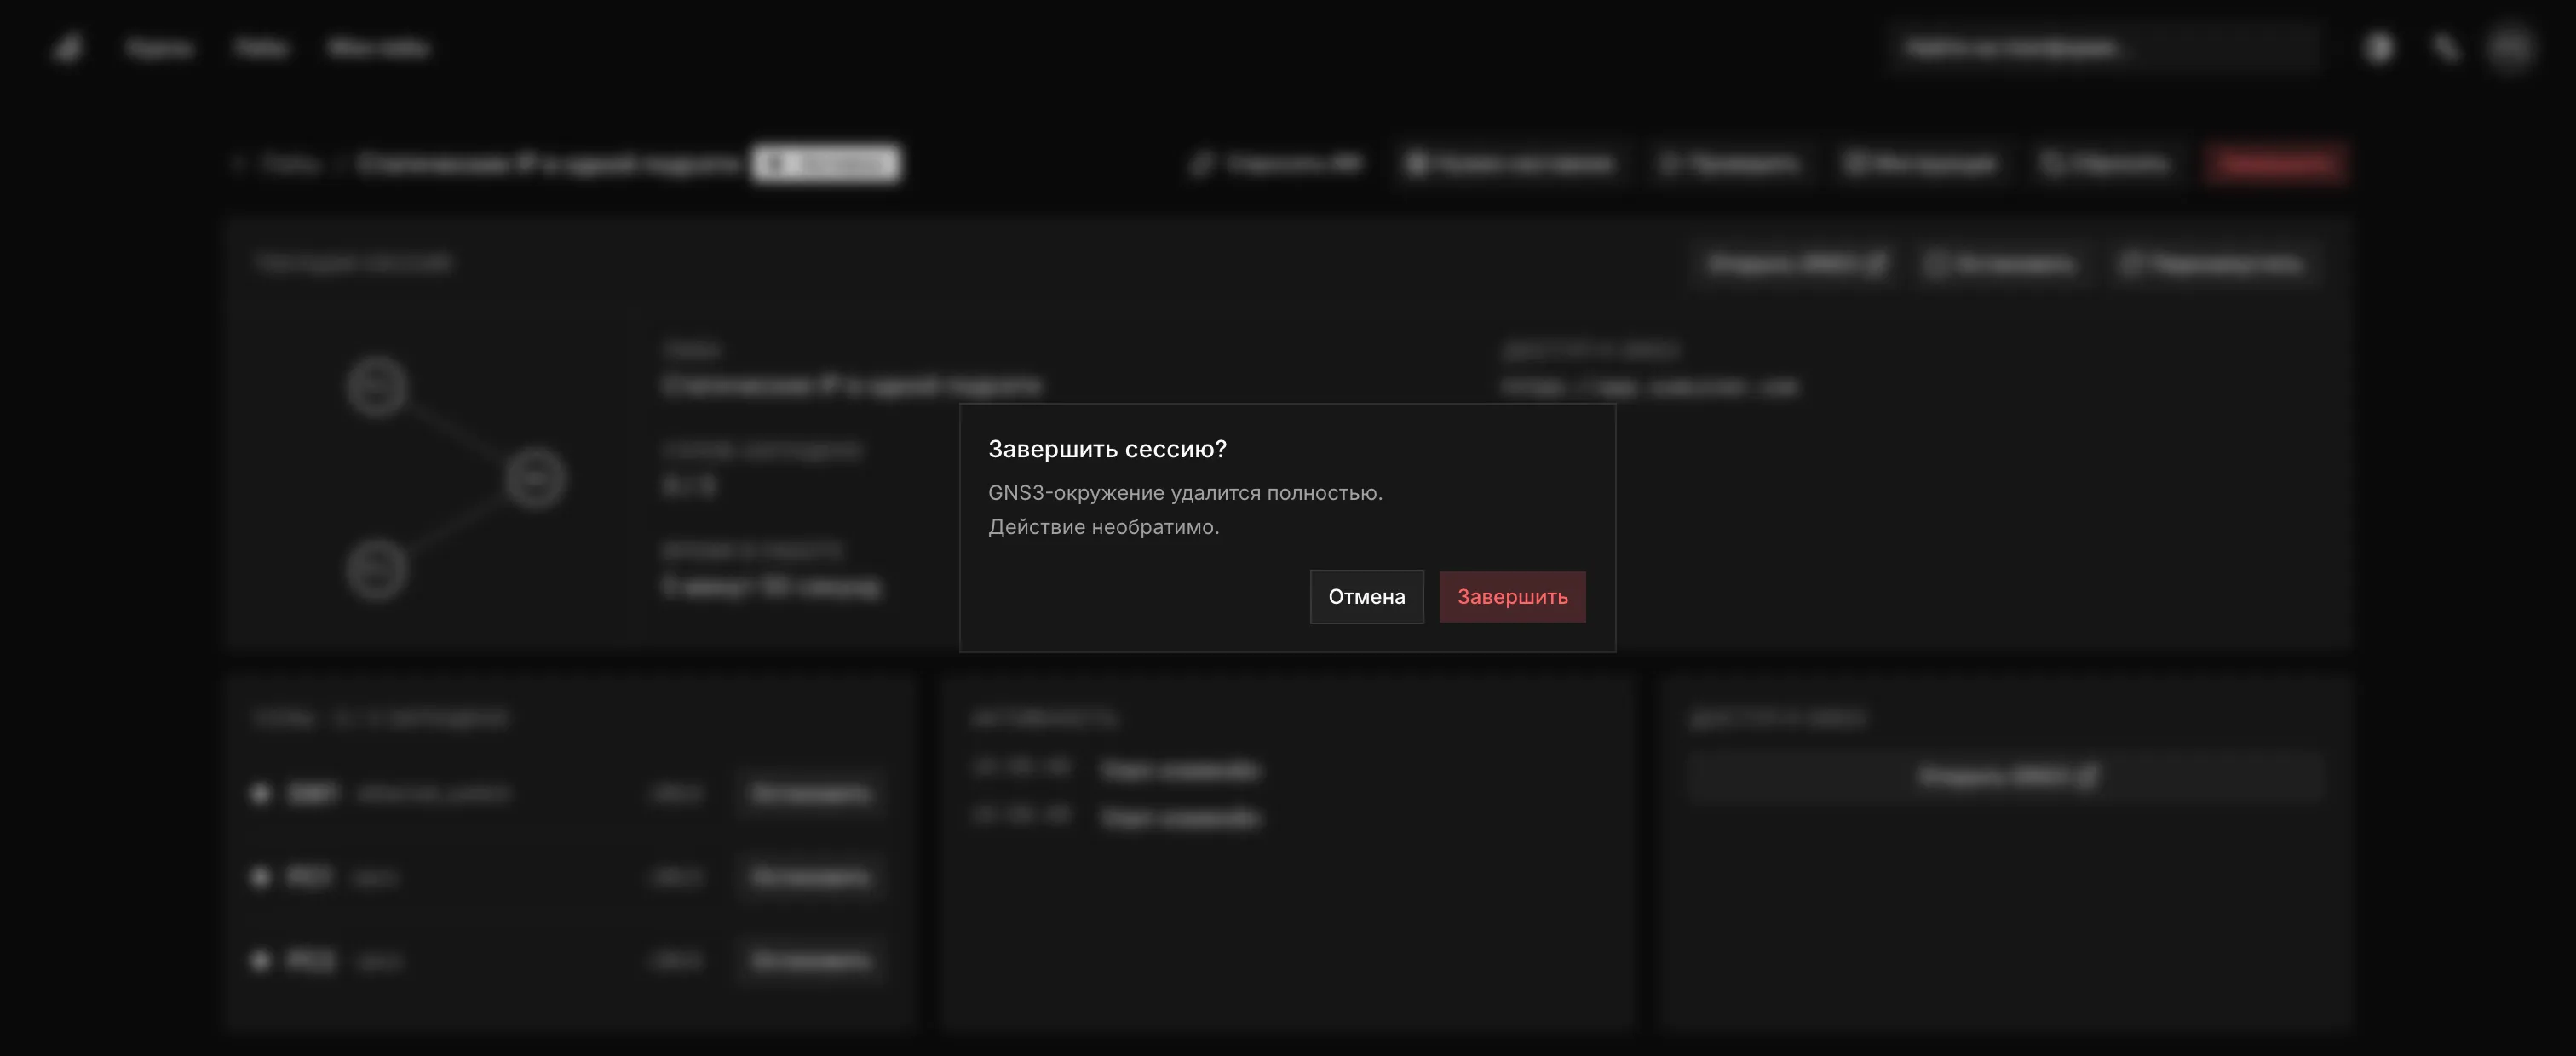
"End" asks "End session?" and, once confirmed, removes the GNS3 environment entirely. It cannot be undone: the stand is freed for someone else and there is no way back into it.
The session page then shows the outcome: "Session ended", "Lab completed" or "Lab not completed", how many steps passed, and a "My Labs" button. The session itself stays in your history and progress — to work on a stand again, launch the lab anew.